Are you curious about how the physical world can interact with your virtual Roblox creations Kitronik Roblox bridges this exciting gap allowing you to use real world electronics to control and influence your games Integrating Kitronik hardware like the Microbit with Roblox Studio opens up a universe of educational and creative opportunities for budding game developers and STEM enthusiasts This powerful combination allows users to script interactive experiences where physical inputs such as button presses or sensor readings directly impact in game actions Imagine a game where real life movements dictate your avatar or where a physical light sensor changes the in game environment This trending concept empowers creators with tangible coding skills fostering a deeper understanding of electronics and game design It is becoming a popular method for educators to demonstrate complex STEM principles in an engaging and accessible way across various learning environments Its growing appeal lies in its ability to transform abstract coding concepts into interactive real world projects captivating a new generation of digital innovators and makers.
kitronik roblox API,Are you wondering how to bridge the gap between physical electronics and your virtual Roblox worlds It is a common question for aspiring game developers and educators alike The answer lies in the innovative intersection of Kitronik and Roblox creating a dynamic platform for hands on learning and game creation This exciting synergy allows you to bring real world inputs into your digital experiences opening up entirely new dimensions of gameplay and interactivity Think about controlling a Roblox character with a physical joystick or changing a game's lighting based on real room light levels This approach is not just a novelty it is a powerful tool for teaching coding electronics and creative problem solving.
Why is this combination trending in the gaming world now Simply put it transforms passive screen time into an active engaged learning experience Young creators are craving tangible connections between their digital creations and the physical world Kitronik provides the robust and accessible hardware while Roblox offers the expansive and popular virtual environment Together they form an unbeatable duo for educational entertainment and innovative game design This powerful pairing supports a deep dive into how circuits work and how code translates into observable actions in a captivating virtual space.
How does Kitronik enable Roblox physical computing
Kitronik acts as the crucial link between your electronics projects and Roblox Studio by providing compatible hardware and resources It offers robust components like the Microbit a programmable microcontroller that can send data to your Roblox games This integration empowers creators to craft immersive experiences where physical actions trigger digital events Imagine pressing a real button to open a virtual door or tilting a Microbit to steer a Roblox vehicle This connection fosters a deeper understanding of input output systems and real time data transfer allowing for highly interactive builds This process is streamlined with accessible software and programming environments making it achievable for various skill levels.
Who benefits from learning Kitronik Roblox integration
Many people benefit from exploring Kitronik Roblox integration Students gain valuable STEM skills covering electronics programming and creative design in an engaging format Educators find it an excellent resource for hands on lessons making abstract concepts tangible and exciting Game developers can innovate new gameplay mechanics moving beyond traditional keyboard and mouse controls Hobbyists discover a fascinating way to combine their passion for electronics with game creation exploring new interactive possibilities It is truly a versatile platform for a diverse audience.
Beginner / Core Concepts
1. Q: What exactly is Kitronik Roblox?
A: Kitronik Roblox is essentially the exciting convergence of Kitronik's electronic hardware with the immensely popular Roblox platform. It allows you to connect physical electronic components, like the versatile Microbit, to your Roblox games and experiences. Imagine using a real-life button press or a sensor reading from a Kitronik board to directly influence actions within your virtual Roblox world. This blend bridges the gap between digital coding and tangible electronics, offering a unique hands-on approach to game development and STEM education. It means your physical actions can control in-game characters, trigger events, or even alter environments. This innovative integration brings a new dimension of interactivity to Roblox, making learning about circuits and coding incredibly engaging. You're not just coding on a screen; you're building a physical interface that brings your digital creations to life. It's a fantastic way to grasp how physical inputs translate into digital outputs, creating a truly immersive and educational experience. You've got this!
2. Q: Why should I care about integrating Kitronik with Roblox?
A: I get why this might seem like an extra step, but trust me, integrating Kitronik with Roblox unlocks a whole new level of creative potential and learning that's super valuable. First off, it transforms abstract coding concepts into tangible, real-world interactions. You're not just seeing code on a screen; you're observing how a physical sensor input immediately changes something in your game. This hands-on approach drastically improves understanding and retention of STEM principles, especially for younger learners. Secondly, it allows for incredibly unique and innovative game mechanics that are simply impossible with traditional input methods. Think about a game where you physically steer a car with a tilt sensor or activate a power-up by clapping into a microphone connected to a Kitronik board. It fosters problem-solving skills as you troubleshoot both hardware and software. Plus, it's incredibly fun and engaging, making the learning process feel like play. You're building not just a game, but a physical interface for it! It's an opportunity to stand out and create truly memorable experiences. Try this tomorrow and see how much fun it is.
3. Q: Is Kitronik Roblox suitable for beginners in coding or electronics?
A: Absolutely, this one used to trip me up too, thinking you needed to be an expert! But the beauty of Kitronik Roblox is its accessibility for beginners. Kitronik hardware, particularly the Microbit, is designed with ease of use in mind, featuring simple connections and block-based coding environments like MakeCode. This visual programming style makes it incredibly intuitive to start scripting without getting bogged down in complex syntax. Similarly, Roblox Studio itself offers a user-friendly interface for building games, and its Lua scripting language is relatively straightforward to pick up.
- Start with simple projects: Begin by making a button press trigger an in-game light.
- Use block coding: MakeCode for Microbit helps bridge the gap between physical and digital.
- Follow online tutorials: Plenty of guides exist to walk you through your first steps.
The learning curve is very gentle, allowing you to build confidence as you progress from basic inputs to more complex interactive systems. You'll find a supportive community and abundant resources to guide you every step of the way. You've got this! Don't be afraid to dive in.
4. Q: What basic Kitronik hardware do I need to get started with Roblox projects?
A: To jump into the exciting world of Kitronik Roblox, you'll primarily need a few core pieces of hardware. The absolute essential is a **BBC Microbit** (either V1 or V2). This tiny programmable computer acts as the brain of your physical projects and is what communicates with Roblox. You'll also need a **USB cable** to connect your Microbit to your computer for programming and power. Beyond that, a **Kitronik Inventor's Kit for Microbit** is highly recommended. It comes packed with various components like LEDs, resistors, buttons, buzzers, and a motor driver board.
- BBC Microbit (V1 or V2): The central processing unit for your physical interactions.
- USB Cable: For programming and powering the Microbit.
- Kitronik Inventor's Kit: Provides a great range of basic components to experiment with.
- Jumper Wires and Crocodile Clips: Essential for connecting components to the Microbit.
These kits offer a fantastic starting point, giving you plenty of options to experiment with different inputs and outputs. You won't need to break the bank to get started, and these components will serve you well through many exciting projects. You've got this, get ready to build!
Intermediate / Practical & Production
1. Q: How do I actually connect a Kitronik Microbit to my Roblox game?
A: Connecting your Kitronik Microbit to a Roblox game involves a few key steps to establish that vital communication link. First, you'll need to flash a specific firmware onto your Microbit, often provided by Kitronik or community projects, which enables serial communication. This firmware essentially teaches your Microbit how to speak to your computer in a way Roblox can understand. Next, on your computer, you'll likely use a bridge application or a serial monitor program that listens for data coming from the Microbit via its USB connection. This application then relays that data to Roblox Studio.
- Flash Microbit with appropriate firmware: This enables serial communication.
- Use a bridge application: Software on your PC to relay Microbit data to Roblox.
- Utilize Roblox Studio plugins: Specific plugins can help interpret incoming serial data.
- Script in Lua: Write Roblox scripts to listen for the data and trigger in-game events.
Inside Roblox Studio, you'll typically use a special plugin or write Lua scripts that are designed to read this incoming data. These scripts will then interpret the signals from your Microbit – a button press, a tilt sensor reading, or a light level – and translate them into corresponding actions within your game, like moving a character or changing a light. It sounds like a few steps, but it's a well-documented process once you dive in. You've got this!
2. Q: Can I use Kitronik components to control in-game objects or characters in Roblox?
A: Absolutely, and this is where the real magic of Kitronik Roblox integration shines! You can definitely use Kitronik components to control a vast array of in-game objects and characters within your Roblox experiences. Imagine connecting a physical joystick or a series of buttons to your Kitronik Microbit. The Microbit then sends signals to your Roblox game, and you can script these signals to move your avatar, operate vehicles, or manipulate props. For instance, a tilt sensor on your Microbit could control the steering of a virtual car, or a light sensor could dynamically adjust the in-game environment's brightness.
- Character movement: Map physical inputs (joysticks, tilt) to character controls.
- Object interaction: Use buttons or sensors to open doors, activate traps, or pick up items.
- Environmental changes: Adjust lighting, weather, or other game parameters based on physical sensor data.
- Custom controllers: Build unique physical controllers that offer immersive gameplay.
The possibilities are genuinely limited only by your imagination and scripting prowess. This level of physical interaction adds an incredible layer of immersion and novelty to your Roblox creations, making them truly stand out. It's a fantastic way to blend the digital and physical realms seamlessly. You've got this!
3. Q: What kind of creative projects can I build using Kitronik and Roblox Studio?
A: Oh, the creative projects you can build with Kitronik and Roblox Studio are practically endless, and this is where the fun truly begins! You could design a physical control panel for a space exploration game where actual buttons and switches on your desk control the spacecraft in Roblox. Imagine a game where you physically tilt a Microbit to navigate a maze, or a rhythm game where you have to hit real buttons in time with on-screen prompts. For educational purposes, you could create a physical weather station that updates a virtual Roblox environment in real-time, displaying temperature or light levels.
- Physical controllers: Build custom gamepads, steering wheels, or flight sticks.
- Interactive escape rooms: Create puzzles that require physical actions (e.g., turning a knob, pressing a sequence of buttons).
- Environmental simulations: Use light or temperature sensors to influence in-game conditions.
- Educational tools: Develop interactive science experiments or coding challenges.
- Smart home prototypes: Simulate smart devices in Roblox controlled by physical switches.
You could even prototype a smart home system, controlling virtual lights and appliances with actual switches. The blend allows for incredibly immersive role-playing games or unique puzzle designs. Your creativity is the only limit here! Try brainstorming some wild ideas, you'll be amazed at what you can achieve. You've got this!
4. Q: Are there any specific coding languages or APIs I need to learn for Kitronik Roblox?
A: Yes, you'll be working with a couple of key coding languages and concepts when diving into Kitronik Roblox projects, but don't let that intimidate you – it's all very learnable! For programming the Kitronik Microbit itself, you'll primarily use **Microsoft MakeCode**, which is a fantastic block-based coding environment. It allows you to drag and drop code blocks, making it incredibly accessible for beginners. MakeCode also offers a JavaScript view for those ready to transition to text-based coding.
- Microbit Programming: Primarily Microsoft MakeCode (block-based), with an option for JavaScript.
- Roblox Studio Scripting: Lua, the primary scripting language for creating games in Roblox.
- Serial Communication: Understanding how data is sent and received over a serial port is crucial.
- Roblox APIs: You'll interact with Roblox's built-in APIs to manipulate game objects and handle events.
On the Roblox Studio side, the main language you'll be using is **Lua**. Lua is a lightweight, powerful, and relatively easy-to-learn scripting language that's central to all Roblox game development. You'll use Lua to write scripts that listen for the data coming from your Microbit and then execute specific actions within your game. While there isn't a single
Kitronik Roblox integration empowers physical computing in virtual worlds enhancing interactive game development. Educational potential for STEM learning connecting electronics and coding for young creators. Real world sensor inputs control in game actions for unique gameplay experiences. DIY projects combining Microbit and Roblox Studio foster creativity and problem solving skills. Seamless hardware software communication for innovative game mechanics and simulations.
35

100 Unofficial Roblox Annual 2026 The Iconic Companion Jam Packed SL1500 . Definitive Guide To Roblox 2026 TM 07169 Definitive Guide To Roblox 2026 . What Will Roblox Look Like In 2026 Blog Graphics 26 . Roblox 2026 Logo REVEALED New Color New Look YouTube Maxres2 . 100 Unofficial Roblox Annual 2026 4687858526 5
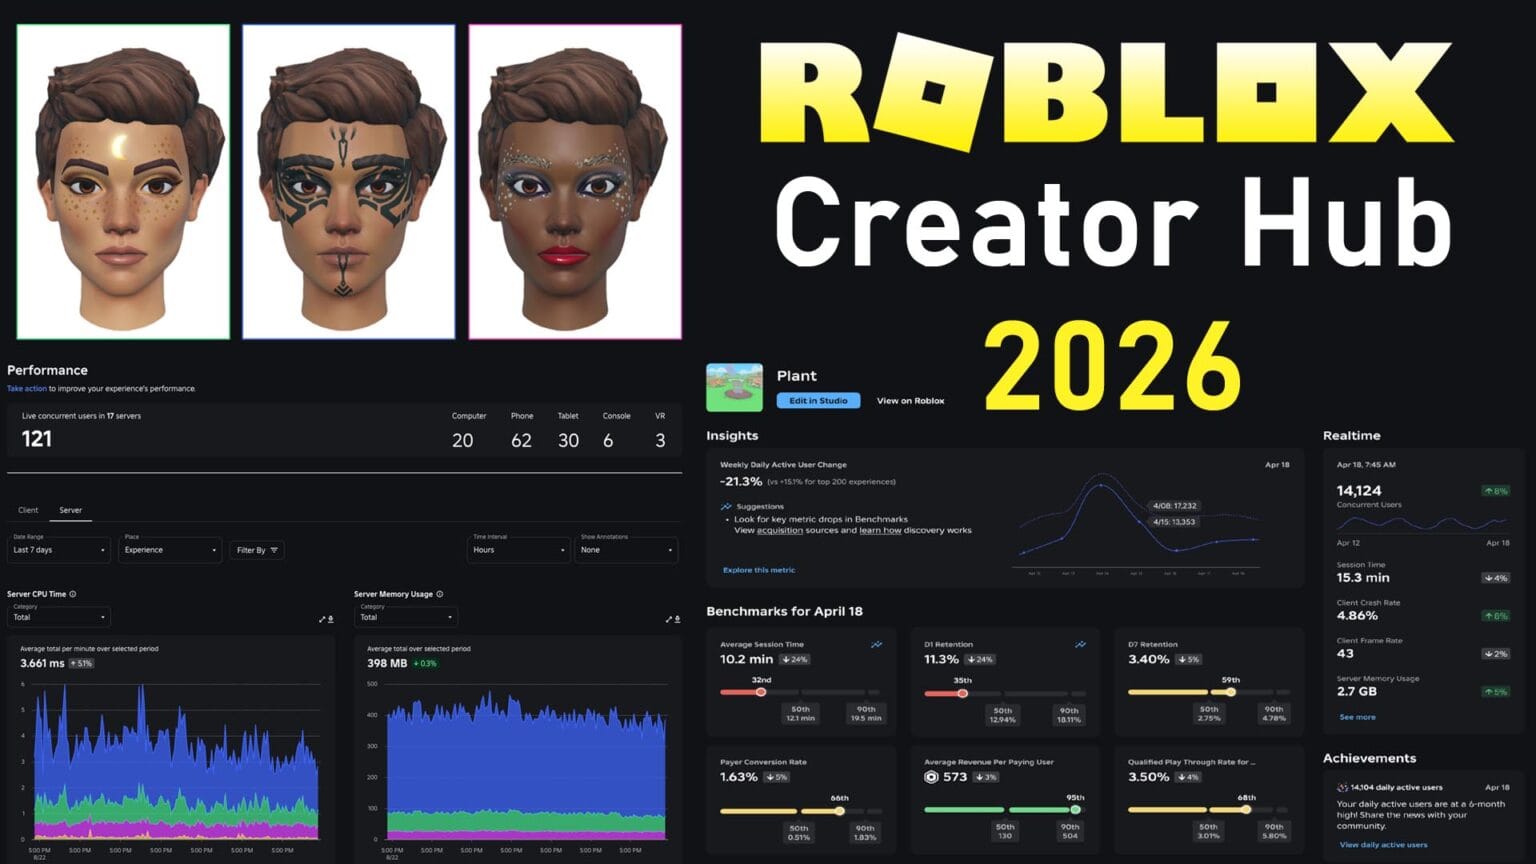


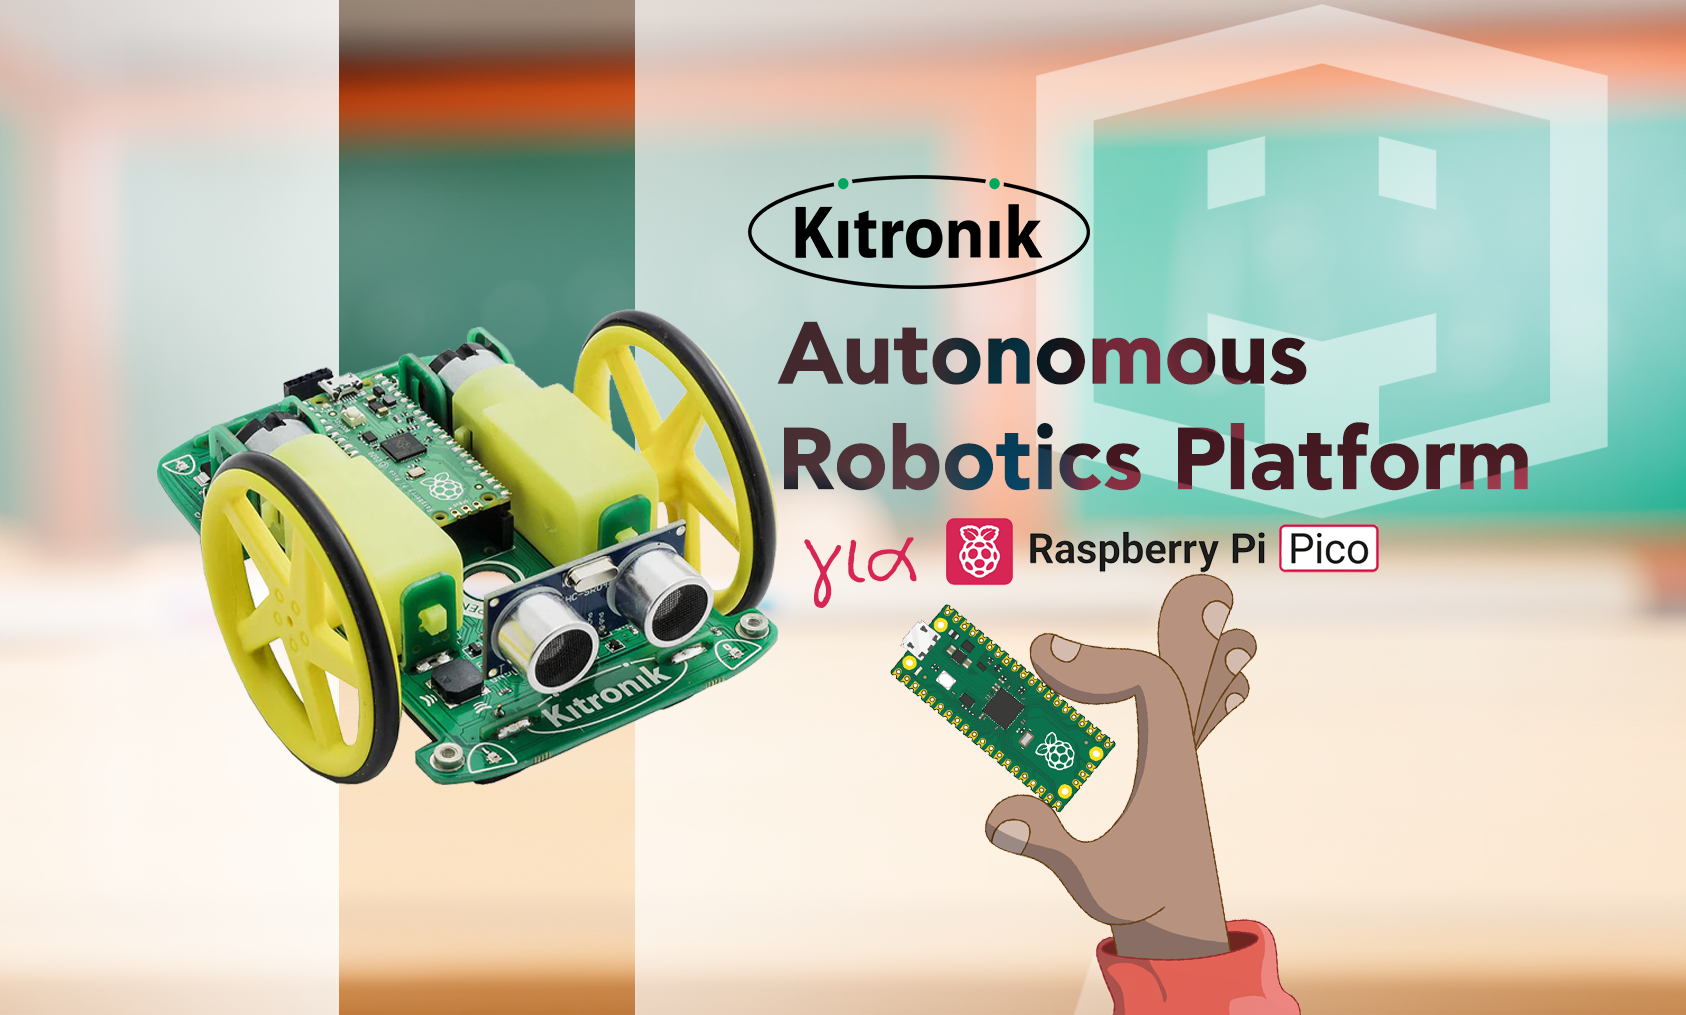
Roblox Creator Hub 2026 Studio UI Roadmap Guide Roblox Creator Hub 2026 1536x864 . The ROBLOX Movie 2026 Official Teaser Trailer YouTube Hqdefault . Happy New Year From Kitronik For 2026 We Re Back Kitronik Ltd Kitronik Happy New Year 2026 Hero Image 83f47ffd 83e6 40ae Bda0 1024x . A Roblox Movie 2026 Teaser Trailer YouTube . Kitronik Pico Kitronik Autonomous Robo Pico

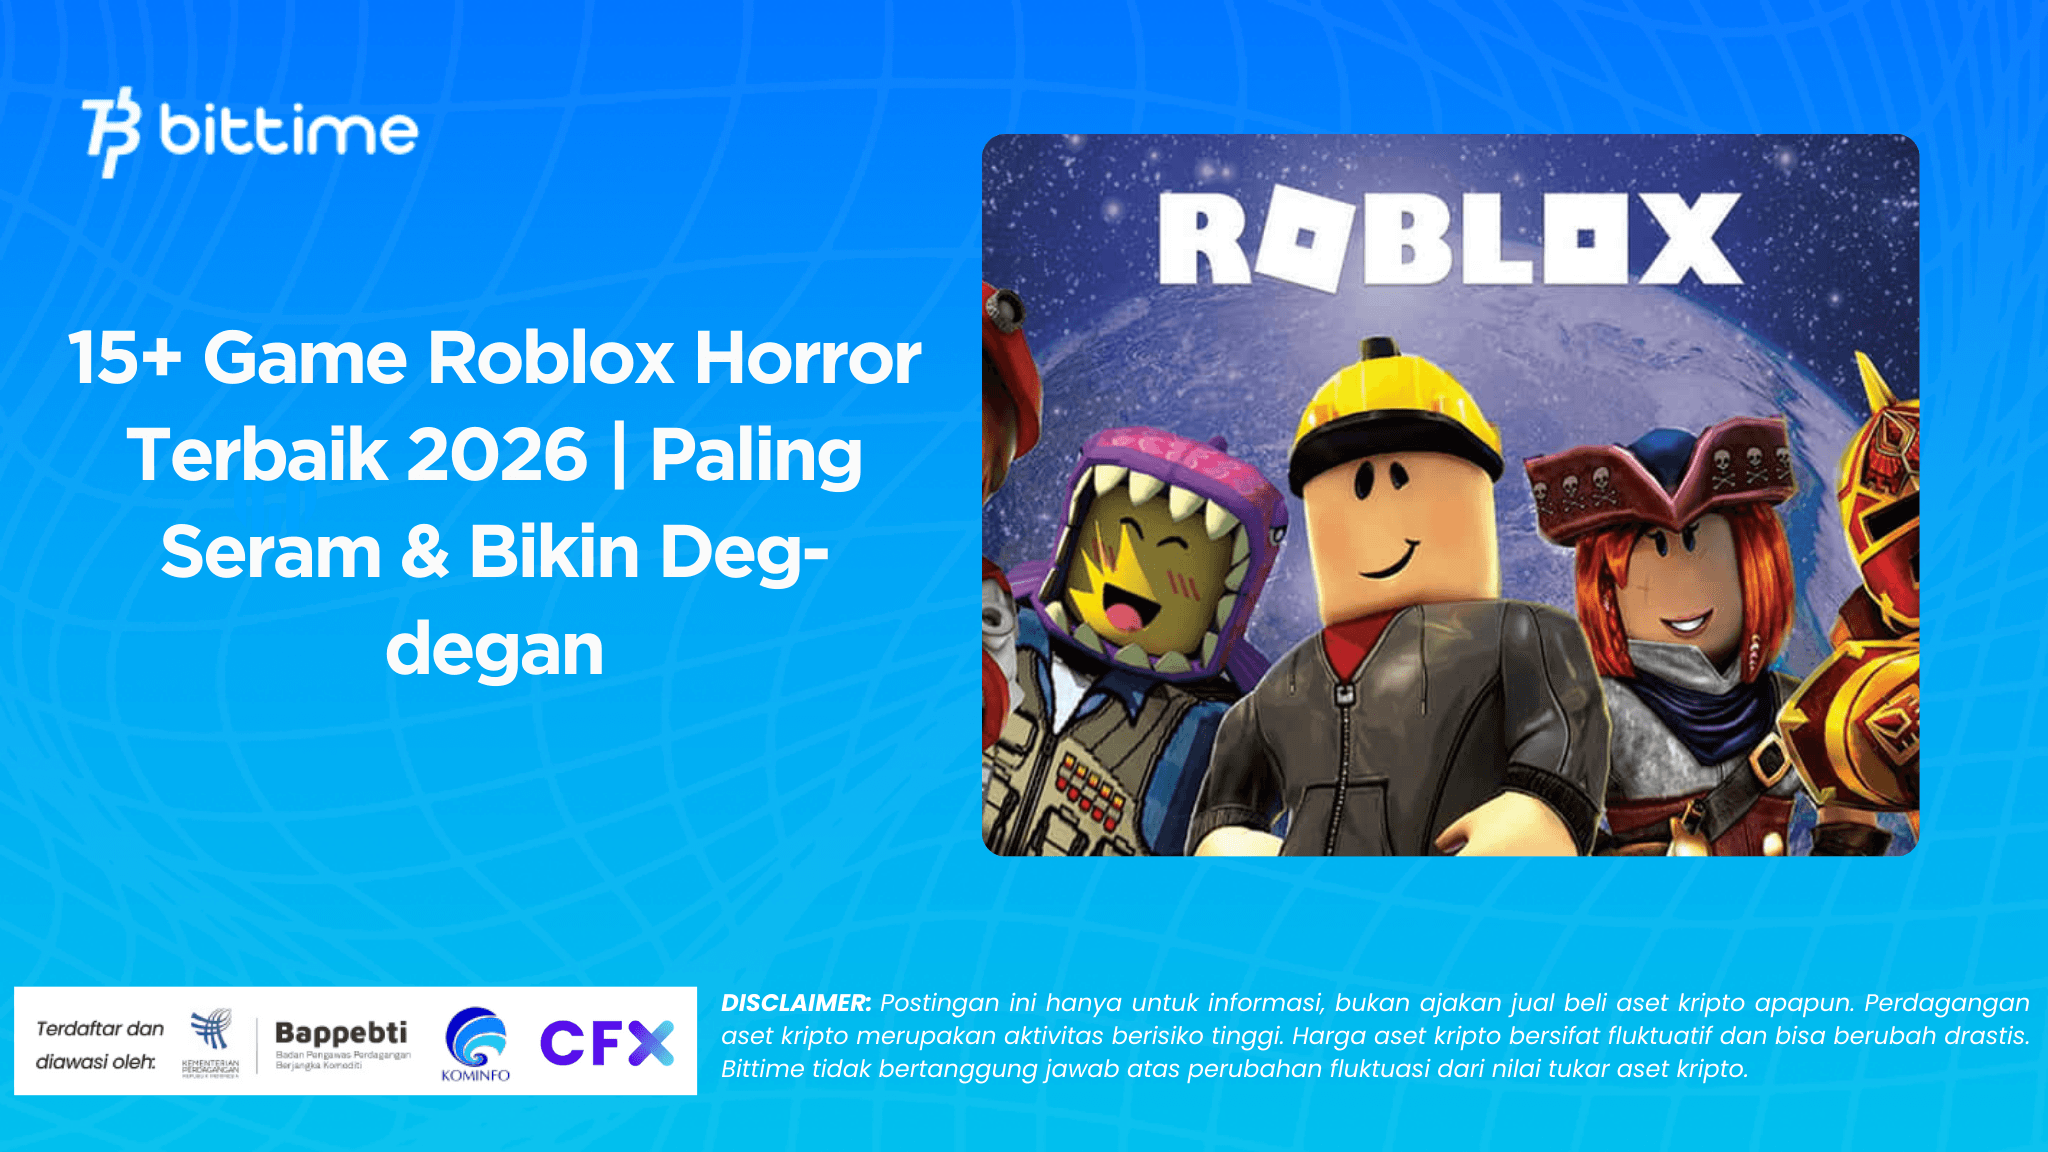

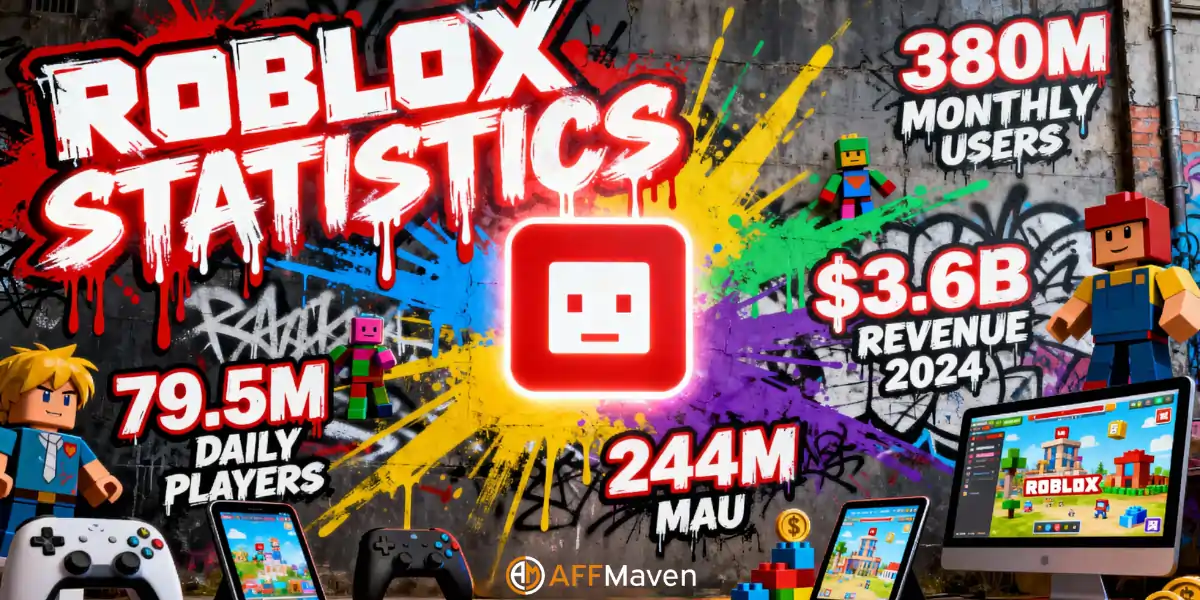
Kitronik Materials Computing Design Technology Catalogue 2025 202 Kitronik Materials Computing Design Technology Catalogue 2025 2026 Hero 73aa4904 C375 47a0 B367 500x . 15 Best Roblox Horror Games Of 2026 15 Game Roblox Horror Terbaik 2026 Paling Seram And Bikin Deg Degan 7f944699ce . Roblox 2026 Logo YouTube Oardefault . Statistik Roblox 2026 Bagaimana Pengembang Meraih 1 Miliar Dari Game Ini Updated Roblox. Kitronik DigiKey Electronics Image


Roblox 2026 New Logo REVEAL First Look At The Future Shorts YouTube Hq2 . ROBLOX EM 2026 VAI MUDAR TUDO YouTube . Help Your Kids Stay Safe Have Fun Roblox. Kitronik RobotShop 12213 Brkitronik Default 1695 340 Inside. Roblox In 2026 Play On Roblox NoFilter
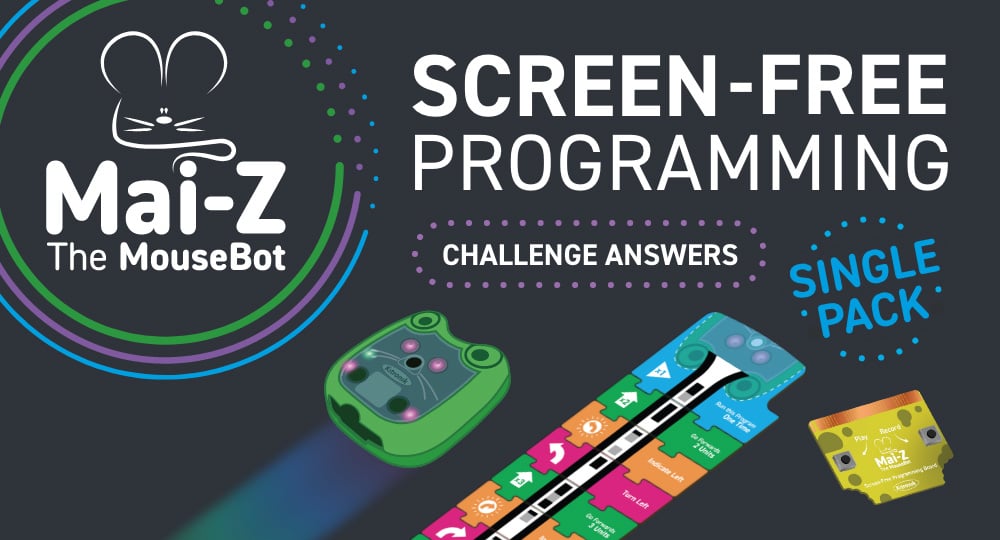


Kitronik Hero 56137 Mai Z Lesson In A Box Screen Free Challenge Answers Blog . Roblox 2026 YouTube Oar2 . Kitronik Autonomous Robotics Platform For Pico ROB 19520 ROB 19520 SPL . Merry Christmas Happy New Year 2025 2026 Kitronik Ltd Merry Christmas 2025 2026 Happy New Year From Kitronik Hero Snowman Image 5d9b480c Ccb0 40ff 985b 1024x . Kitronik Hero Value Acrylic Enclosure Kitronik 30 Sec Record Playback Sample Kit 800x432


LOGO Roblox 2026 YouTube Maxres2 . 10 Najlepszych Darmowych Gier Na Roblox 2026 Gaming Net Roblox 1 1536x864 . 5 Roblox 2026 Image. Roblox 2026 Updates And New Features Crawler. Roblox The Movie 2026 Full Cast Crew IMDb V1 FMjpg UX1000


Roblox Linktree Roblox2026 . The Kitronik Coding Catalogue 2025 26 Is Here Kitronik Ltd Kitronik Autumn Coding Catalogue 2025 2026 Hero Image 535348d5 Bee4 461d Be34 1024x . WOW The 2026 Roblox Logo Shocks All Players YouTube Maxres2 . How To Master Blind Shot Controls In Roblox 2026 Guide Roblox Slap Tower Codes . New Working Roblox Condo Game 2026 YouTube