Building a new PC is an exciting endeavor, but the real magic begins when you ensure every component works in perfect harmony. This comprehensive guide on 'pc test build' is designed for the modern gamer, who balances a demanding life with their passion for gaming. We understand that your time is valuable, and nothing is more frustrating than a new rig that underperforms or crashes during an intense gaming session. This article will navigate you through the essential steps to stress test your CPU, GPU, RAM, and storage, ensuring stability and optimal performance from day one. Discover the best free tools, learn how to interpret results, and troubleshoot common issues without losing your cool. Whether you are a seasoned builder or a first-timer, mastering the art of the PC test build will save you headaches, time, and money, allowing you to fully enjoy your investment in the latest titles and social gaming experiences. Get ready to game with confidence!
What is a PC test build and why is it important for gamers?
A PC test build refers to the process of stress testing and benchmarking a newly assembled computer to ensure all components are stable, functioning correctly, and performing optimally under load. For gamers, this is crucial because it helps identify and fix potential issues like crashes, overheating, or performance bottlenecks before they ruin gaming sessions, saving valuable time and frustration. It's about validating your investment for smooth, uninterrupted play.
What are the common pitfalls gamers face without performing a PC test build?
Without a proper PC test build, gamers frequently encounter issues such as random system crashes, blue screens of death (BSODs) during intense gameplay, stuttering or low frame rates due to thermal throttling, data corruption from unstable RAM or storage, and overall system instability. These problems can lead to lost game progress, competitive disadvantages, and a diminished gaming experience, turning excitement into exasperation.
Which essential software tools should I use for my PC test build?
For a comprehensive PC test build, you should utilize a suite of free software. Prime95 (CPU stress), FurMark or Unigine Heaven/Superposition (GPU stress and benchmark), MemTest86 (RAM integrity), HWMonitor or HWiNFO64 (temperature and sensor monitoring), and CrystalDiskInfo/CrystalDiskMark (storage health and speed) are all highly recommended. These tools cover the critical aspects of component stability and performance.
How can I ensure my CPU and GPU are stable during a test build?
To ensure CPU stability, run Prime95 (Small FFTs test) for at least an hour while monitoring temperatures with HWMonitor. For your GPU, use FurMark or a demanding benchmark like Unigine Superposition for 15-30 minutes, checking for artifacts and stable temperatures. Consistent, error-free operation within safe thermal limits indicates stability for both components.
What are the critical temperature ranges to watch for during PC stress testing?
During stress testing, aim for CPU temperatures below 80 degrees Celsius and GPU temperatures below 85 degrees Celsius. While systems can technically run hotter, staying within these ranges ensures longevity and prevents thermal throttling, which can significantly degrade performance. Consistently high temperatures warrant investigation into your cooling solution or thermal paste application.
How do I test my RAM for errors effectively during a PC test build?
The most effective way to test your RAM is by using MemTest86. Download it, create a bootable USB drive, and boot your PC from it. Let MemTest86 run for at least four complete passes. Even a single error indicates faulty RAM or incorrect memory settings (like an unstable XMP profile), requiring further troubleshooting or component replacement.
What's the best strategy for troubleshooting issues identified during a PC test build?
When troubleshooting, isolate the problem. If a CPU test fails, focus on the CPU, cooler, and motherboard. If a GPU test fails, focus on the graphics card, drivers, and PCIe slot. Revert any overclocks immediately. Update drivers and BIOS. Check all power connections. If an issue persists, swap components one by one if possible to pinpoint the faulty part. A systematic approach saves time and prevents further damage.
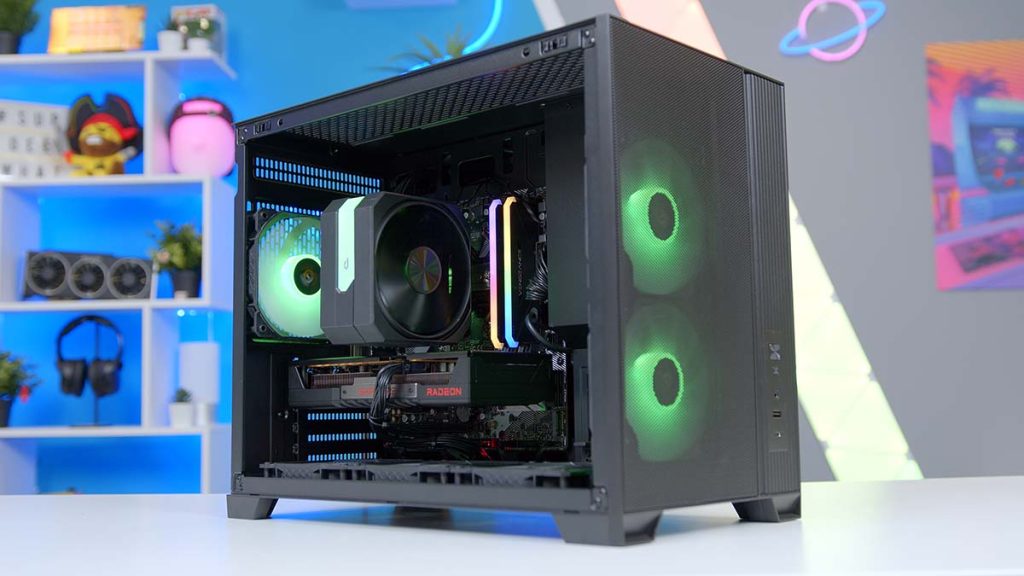
You have just invested your hard-earned cash and precious time into building your dream gaming rig. The parts are pristine, the RGB lighting glows, and the anticipation to dive into the latest AAA titles or connect with friends on Discord is almost unbearable. But wait, before you launch that game, there is a crucial step many seasoned gamers swear by, a process that ensures your investment delivers the smooth, reliable performance you expect: the PC test build. For the average US gamer, around 36 years old and often balancing gaming with jobs and family, time is a luxury. Nothing sours the joy of a new build faster than unexpected crashes, stuttering frame rates, or thermal throttling. In fact, with 87 percent of US gamers regularly playing, many logging 10+ hours a week, every minute of gaming needs to be seamless.
This comprehensive guide is your friendly, expert companion in ensuring your new PC is rock-solid. We will walk through how to stress test your CPU, GPU, RAM, and storage, using the best free tools available. We will help you identify potential bottlenecks, troubleshoot common issues, and ultimately, gain the peace of mind that your machine is ready for anything you throw at it, from competitive esports to relaxing cozy games with friends. Let's get your rig running perfectly so you can focus on skill-building and social play, not system instability.
Why Is a PC Test Build Absolutely Essential?
A PC test build, or stress testing, is vital for verifying the stability and performance of your newly assembled computer. Think of it as a quality assurance check before a product launch. You are pushing your components to their limits to ensure they can handle intensive tasks without crashing, overheating, or exhibiting errors. This proactive approach saves you from frustrating in-game crashes, lost progress, and the headache of diagnosing problems later on. It validates your hardware choices and the integrity of your assembly.
What Components Should You Test First, And How?
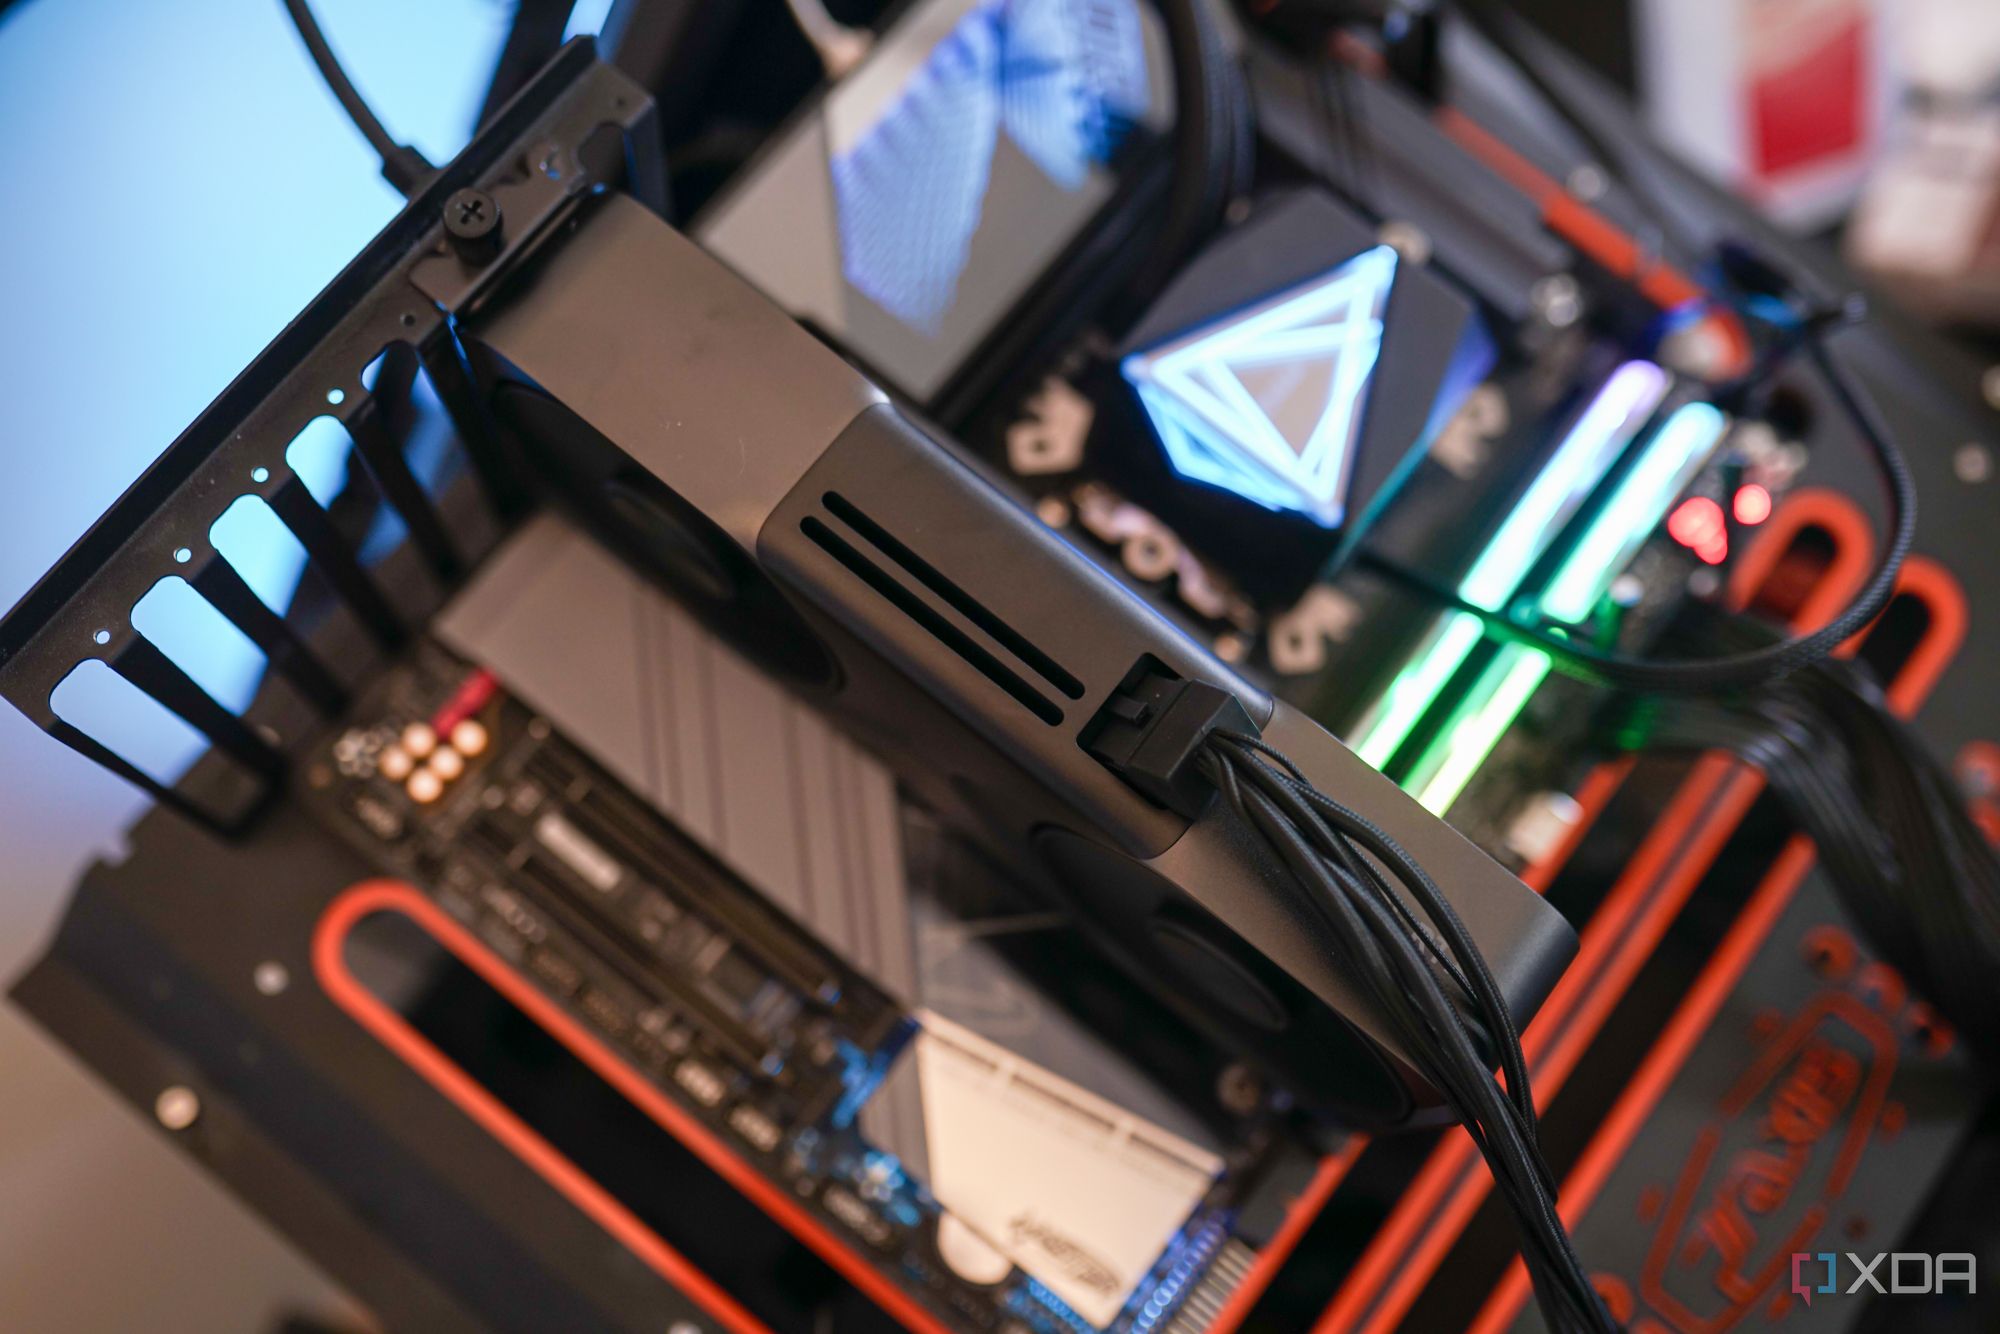
You should approach your PC test build systematically, starting with the most critical components. Begin with your CPU and RAM, as issues here can prevent your system from even booting. Once basic stability is confirmed, move on to the GPU, followed by storage and power supply. This phased approach helps isolate potential problems more easily. Initial tests often involve simply booting into your operating system and monitoring basic temperatures and clocks, before escalating to heavy workloads.
Which Free Tools Are Best for Stress Testing Your PC?
A wealth of free, reliable software exists to help with your PC test build. For CPU stability, Prime95 and Cinebench are excellent. GPU testing is best handled by FurMark or Unigine Heaven/Superposition benchmarks. MemTest86 is the undisputed champion for RAM integrity. For overall system monitoring, HWMonitor or HWiNFO64 are indispensable for tracking temperatures, voltages, and clock speeds across all your components. CrystalDiskInfo or CrystalDiskMark are perfect for checking your storage drive health and speed.
How Do I Check CPU Stability and Performance?
To check your CPU's stability during a PC test build, you will want to run a demanding workload for an extended period. Prime95's 'Small FFTs' test is notorious for exposing CPU instability by stressing both the CPU and its memory controller intensely. Run it for at least 30 minutes, ideally an hour, while monitoring temperatures with HWMonitor. If your system crashes or you see blue screens, it indicates instability, often related to overclocking or insufficient cooling. Cinebench, on the other hand, is a quick benchmark to gauge raw multi-core and single-core performance, providing a score you can compare against similar builds online.
What's The Best Way To Stress Test My Graphics Card (GPU)?
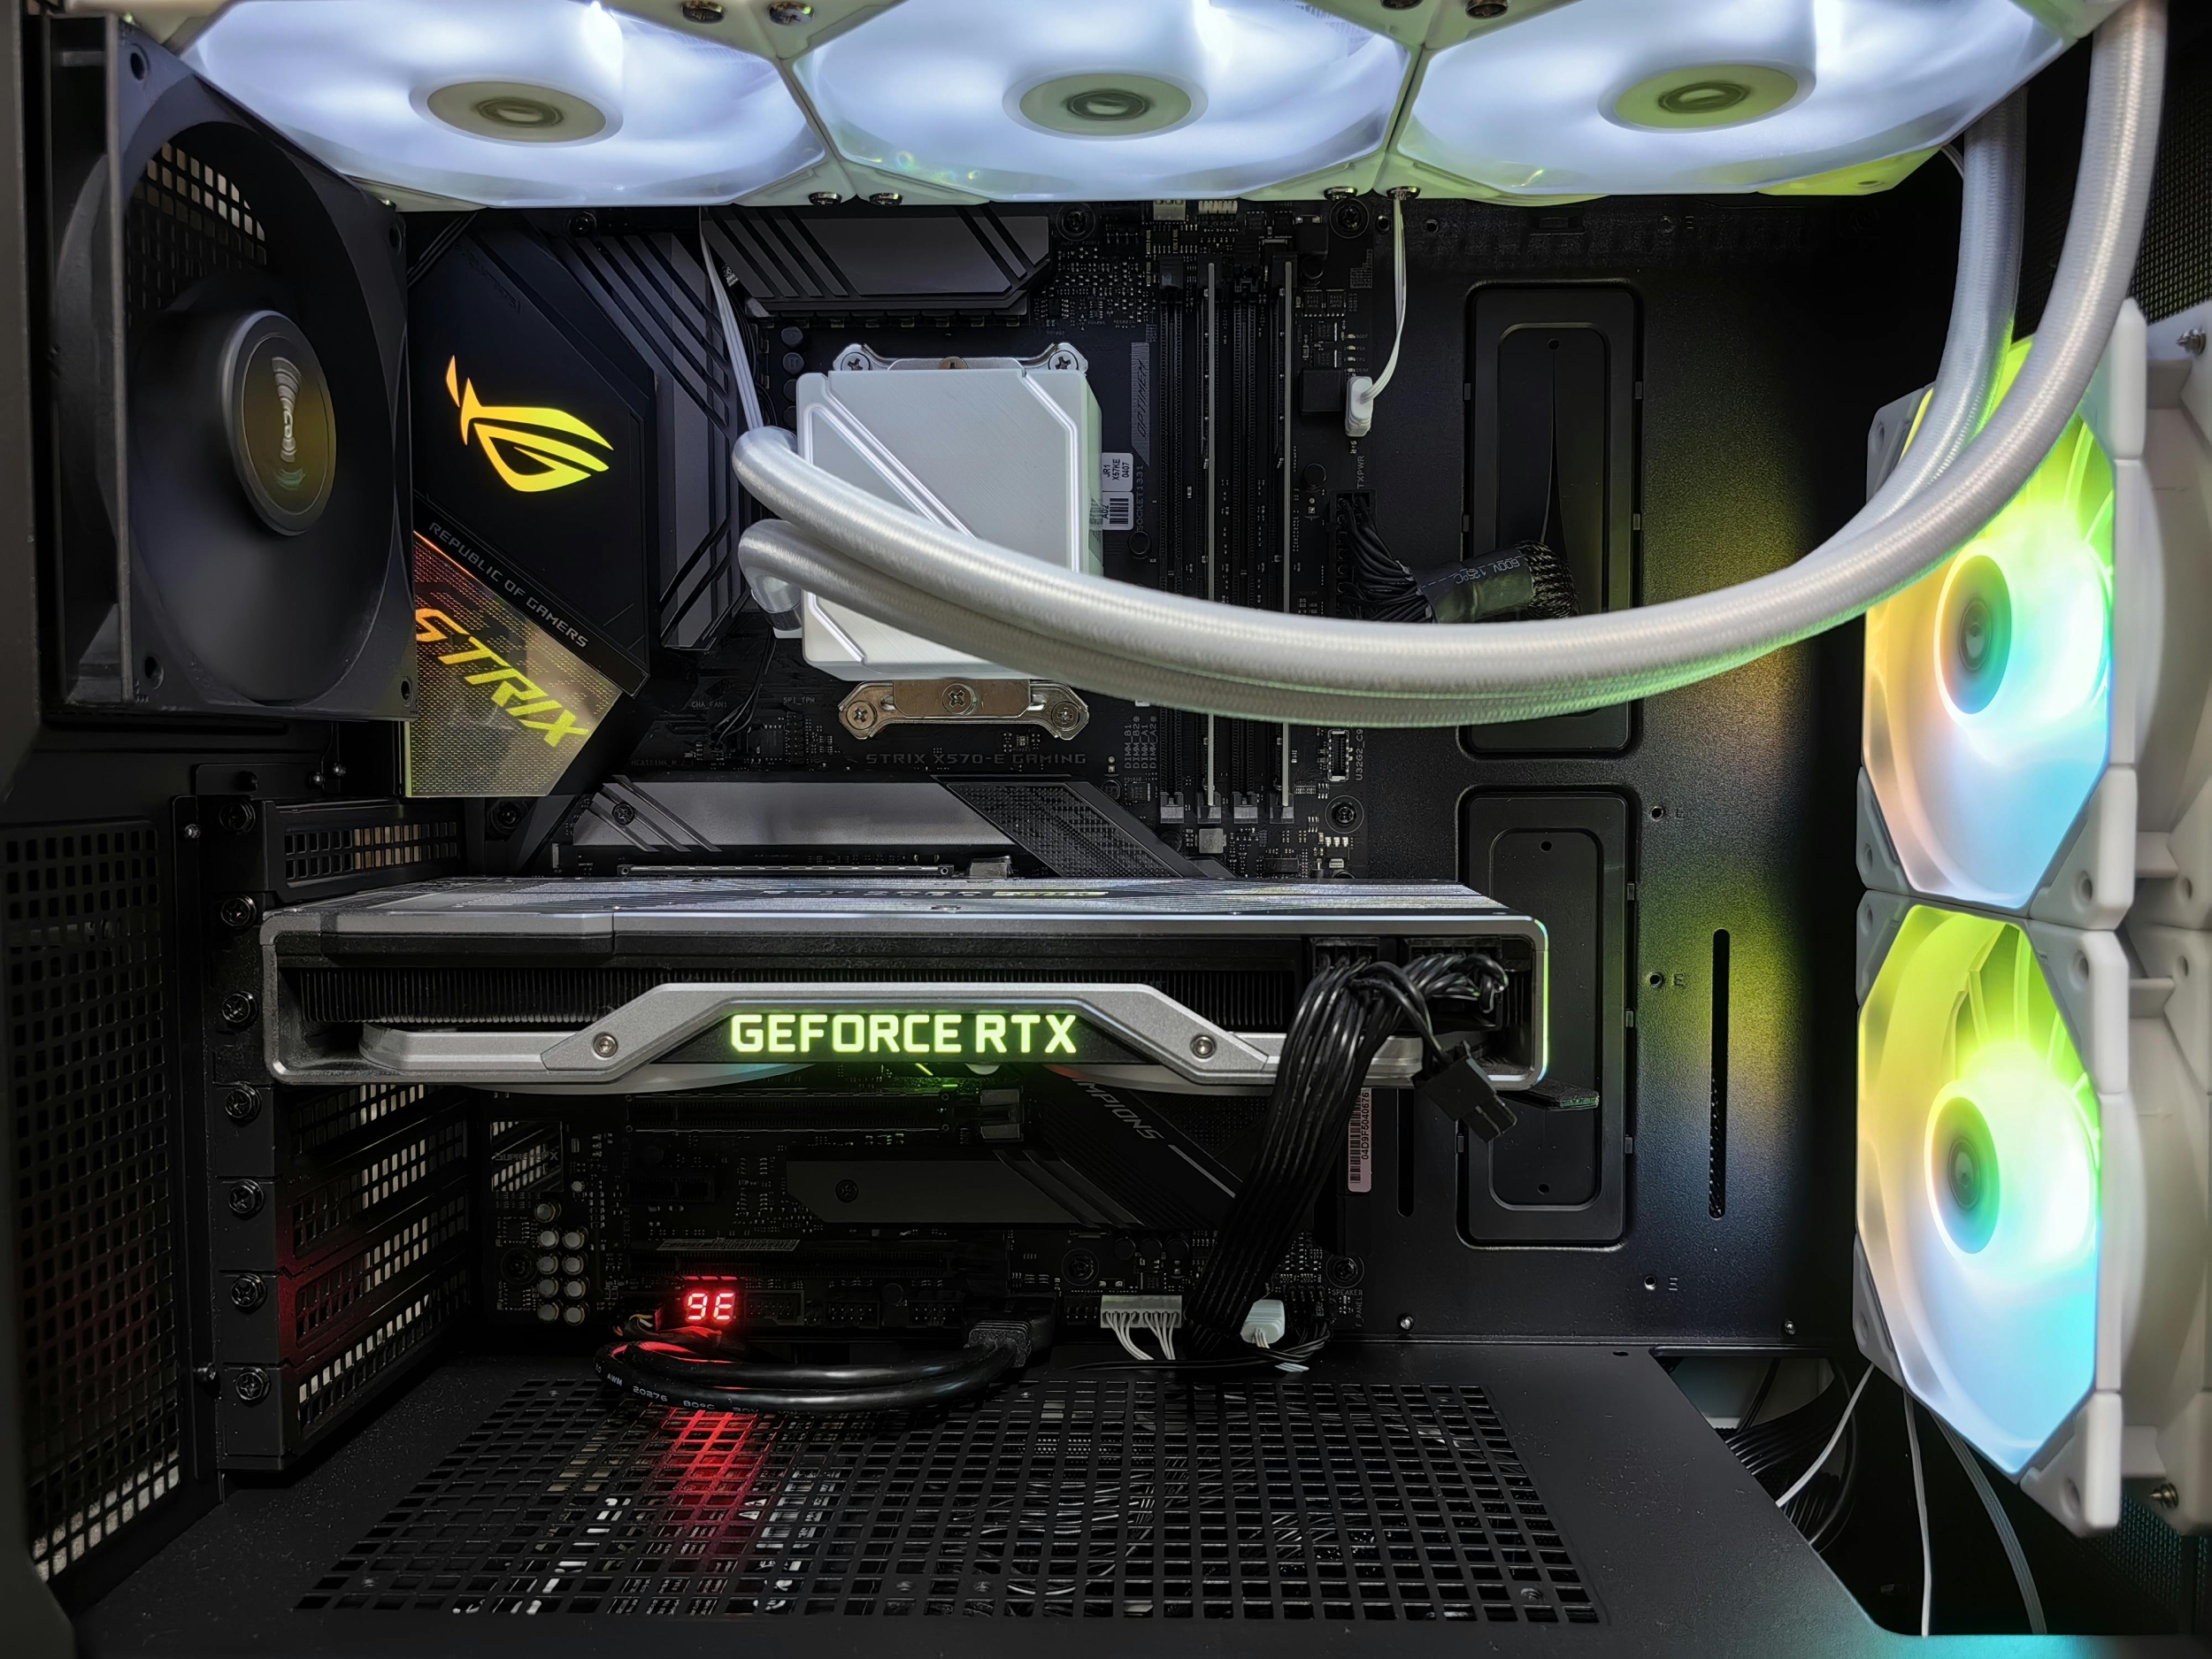
Your GPU is often the most expensive component and critical for gaming performance. For a robust PC test build, use FurMark, known as a 'GPU killer' for its ability to push graphics cards to their thermal limits. Run it for 15-30 minutes, observing temperatures and clock speeds. For a more real-world gaming load, Unigine Heaven or Superposition benchmarks offer beautiful, demanding scenes that simulate typical game performance while giving you a score to compare. Look for consistent frame rates, no artifacting on screen, and stable temperatures below 85 degrees Celsius.
How Can I Verify My RAM Is Working Flawlessly?
RAM issues can cause subtle problems, from random crashes to system slowdowns. During your PC test build, MemTest86 is the gold standard for verifying RAM integrity. You will need to create a bootable USB drive, boot from it, and let MemTest86 run through multiple passes. Even a single error found by MemTest86 indicates faulty RAM, which could be a bad stick or incorrect BIOS settings (like XMP profiles). Most experts recommend letting it complete at least four passes for thorough verification, which can take several hours depending on your RAM capacity.
What About Storage Drives and Power Supply Testing?
While often overlooked in a PC test build, your storage drives and power supply (PSU) are crucial. For storage, CrystalDiskInfo will tell you the health status of your SSDs and HDDs, including hours of operation and error rates. CrystalDiskMark can benchmark your read/write speeds, ensuring they meet specifications. A failing PSU can cause random shutdowns, component damage, or instability. While there are no easy consumer tools to directly stress test a PSU, running all other stress tests simultaneously (CPU, GPU, RAM) will draw maximum power, indirectly testing its capacity and stability. Ensure your PSU has sufficient wattage for your components.
How Do I Monitor Temperatures and Ensure Proper Cooling?
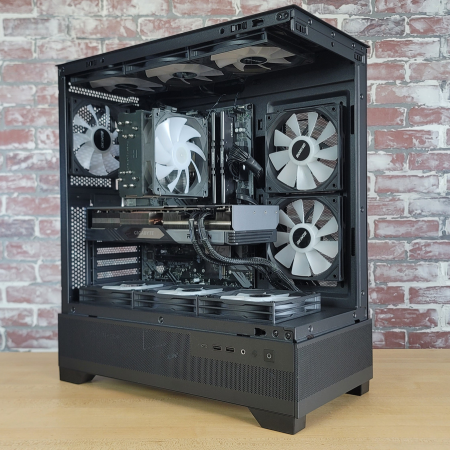
Effective thermal management is key to longevity and performance, especially for a gaming rig that sees heavy use. Throughout your entire PC test build, continuously monitor CPU and GPU temperatures using HWMonitor or HWiNFO64. Healthy idle temperatures are typically below 45°C. Under full load during stress tests, your CPU should ideally stay below 80°C and your GPU below 85°C. If temperatures are consistently high, it indicates an issue with your cooling solution – perhaps a poorly seated CPU cooler, insufficient case airflow, or clogged fans. Adjust fan curves in your BIOS or through software for optimal balance between cooling and noise.
What Performance Benchmarks Should I Aim For?
After ensuring stability, running benchmarks is the next step in your PC test build. Tools like 3DMark (Time Spy for DX12, Fire Strike for DX11) provide comprehensive scores for your system's gaming capabilities, allowing you to compare your performance with thousands of other users with similar hardware. For CPU, Cinebench R23 gives a good indication of rendering power. Look up benchmark results for your specific CPU and GPU combination online. While absolute scores vary, you should generally be within 5-10% of the average for your setup. Significantly lower scores could indicate driver issues, background processes, or thermal throttling.
When Should I Stop Testing and Start Gaming?
You can confidently conclude your PC test build when your system has completed all stress tests for a sustained period without any crashes, errors, or excessive temperatures. This typically means an hour of Prime95, 30 minutes of FurMark, and several passes of MemTest86. If everything remains stable and your benchmarks are in line with expectations, your rig is ready. Remember, testing is about peace of mind. Once you have it, go ahead and jump into that game you have been waiting for! The US gaming community, known for embracing social play and new experiences, is waiting.
Building your own PC is a rewarding experience, and a thorough test build ensures that experience is nothing short of fantastic. By taking the time to stress test and benchmark your components, you are not just preventing future headaches; you are optimizing your rig for peak performance and longevity. This dedication allows you to fully immerse yourself in gaming, connecting with friends, or unwinding after a busy day, knowing your hardware has your back. Don't let common setup issues or performance hiccups steal your precious gaming moments.
What is your biggest gaming challenge with a new PC build? Comment below and let's tackle it together!
FAQ Section
Q: How long should I run a stress test for a new PC build?
A: For basic stability, run CPU and GPU stress tests for at least 30-60 minutes each. For maximum confidence, especially with overclocks, aim for 2-4 hours or even overnight for CPU and RAM tests. MemTest86 should complete 4 full passes.
Q: What are common signs of an unstable PC build?
A: Look for system crashes, blue screens of death (BSODs), unexpected reboots, visual artifacts on screen (for GPU issues), error messages during tests, or extremely high temperatures that cause thermal throttling.
Q: Do I need to buy software for PC testing?
A: No, most essential PC test build tools like Prime95, FurMark, MemTest86, HWMonitor, and Cinebench are completely free. There are paid options like 3DMark for more detailed benchmarking, but they are not strictly necessary for basic stability.
Q: Can a poor power supply unit (PSU) affect my PC's stability?
A: Absolutely. An insufficient or faulty PSU can cause random shutdowns, system instability under load, and even damage components. Always choose a reputable brand with adequate wattage for your system's needs, considering future upgrades.
Q: How often should I re-test my PC after the initial build?
A: After the initial PC test build, you generally do not need to re-test regularly unless you make significant hardware changes (like a new CPU or GPU), perform major overclocks, or start experiencing unexplained stability issues. A quick benchmark every few months can confirm consistent performance.
Q: What if my temperatures are too high during testing?
A: High temperatures indicate insufficient cooling. Check if your CPU cooler is properly seated and making good contact, ensure thermal paste is applied correctly, verify all case fans are spinning and oriented for good airflow, and clean any dust buildup. You may also need to adjust fan curves or upgrade your cooling solution.
Essential PC component testing steps. Free software for stress testing CPU, GPU, RAM. How to identify and fix build issues. Optimizing gaming performance and stability. Thermal management for PC builds. Benchmarking new gaming PCs.
35


PC Project 2026 Where To Start With Building Your Own Gaming PC CCL CCL 667 BLOG BUILD GUIDE 1980x1080 . Best Gaming PC Builds For 2026 Best Gaming PC Builds For 2026.webp. Building An Enthusiast Grade PC Build For 2026 GeekaWhat FI DM87 HAVN BF RTX 5090 Build . Build PC 2026 Per GTA VI Potenza Massima E Bolletta Minima Generated Images 6. Top 10 Der Beste KI Gaming PC 2026 Im Test Intelligent Ki Faehige Gaming Computer Pc Taptop 2026 Im Test


Build PC Stream Game 2026 C N C U H Nh Ra Sao Live M T Kh Ng Lag Build PC Stream Game 2026 Can Cau Hinh Ra Sao De Live Muot Khong Lag.webp. The Best Gaming PC Builds For 2026 Top Picks And Reviews Best Pc Build 300x300 . The Best 1000 Gaming PC Build For 2026 YouTube . The ULTIMATE AMD Gaming PC Build 2026 YouTube . Building An Affordable Gaming PC For 2026 GeekaWhat FI DP056 Antec Flux M 9060XT 1024x576


How To Build A Gaming PC 2026 Complete Beginner S Guide Switchblade How To Build Gaming Pc 2026.webp. Best Gaming Pc Build In 2026 Ryzen 5 9600X With Rx9060XT 16gb Best . Best AMD PC Build Under 40K In 2026 Ryzen 5 5600GT Gaming PC YouTube . Build Vs Buy PC In 2026 Should You Build Your Own PC Or Buy A Prebuilt Build Vs Buy Pc . 2026 Best PC Build 50K 50K Best PC Techy QR YouTube


One Moment Please Best Gaming Pc For Under 500 Dollars Featured 800x500 . How To Build A Gaming PC In 2026 Complete Beginner Guide How To Build Gaming Pc 2026 . ULTIMATE Creators PC Build For 2026 A Complete Guide YouTube . Best VALUE STREAMING PC Build In 2026 No FPS Lag Great Gaming . The Gaming PC You Need To Build For 2026


Should You Build A PC In 2026 Mid Range Gaming Build Guide January Cld Sample . PC Build Guide 2026 Jan 2026 YBB Malayalam YouTube . Best 1500 Gaming PC Build 2026 Ryzen 7 7800X3D RTX 5070 1440p 4K 1536x1024 . How To Build A PC In 2026 GEEKOM UK Pc Building Guide.webp. Best Budget Gaming PC Build 2026 High Performance Best Budget Gaming Pc Build 2026 Parts List


How To Build A Future Proof PC In 2026 Without Regret Gemini Generated Ima. Imresizer 98 . The Ultimate Gaming PC Build 2026 Guide By Xidax 1 Unnamed . Best PC Build Combo Guide 2026 Ultimate CPU GPU Pairing For Every Oar2 . How To Build A Gaming PC In 2026 Complete Parts Guide And Assembly Image. Microsoft Build 2026 Confirmed For June Moves Back To San Francisco 1.fit


The Best PC You Can Build In 2026 For Under Rs 1 25 Lakh 91mobiles Com . Building A Gaming PC In 2026 Is DIFFERENT YouTube . 70K ULTIMATE PC BUILD 2026 REHMAN SPEC YouTube . How To Build Gaming PC Guide 2026 Step By Step Budget Gaming PC 2026 Gaming Pc . Best Gaming PC Builds For 2026 Pc Build Help